
Sunset Saguaro panoramic photograph using the Brenizer Method.
When your subject deserves center stage
A few people commented on my IG and FB post wondering how I got this effect without filters.
Here’s a brief overview of the process.
For starters, the light was gorgeous! I almost didn't go outside that night. With only a few minutes of sunlight left I grabbed the camera and ran up the road to a favorite saguaro in my neighbor's yard. Wanting to do it justice, I used the Brenizer Method – a type of panoramic photography which uses a shallow depth of field to highlight the subject. The technique is named after Ryan Brenizer who began teaching the method about 10 years ago. He used it in wedding and portrait photography to keep the people as the focal point and incorporate a beautiful setting. I use this method on anything that deserves attention and contemplation; a unique saguaro, interesting trees, or anything I find intriguing.
On a small scale we can do that in one frame with a wide aperture resulting in a shallow depth of field. Many portraits are done that way. Portrait mode on your phone mimics this style. The background falls out of focus leaving the subject tack sharp. When the subject is large, we need a different approach. If you can’t fit the entire image in one frame, make a panorama. Take a strip of overlapping photos and merge them in Lightroom or Photoshop. They can be done handheld or on a tripod for better control. It’s relatively simple once you learn a few basics.
Below is a quick look at the process. To learn more, there are helpful tutorials on YouTube. Creative Live has some in-depth training that’s excellent too. I recommend learning how to do panoramas first and then try the Brenizer Method.
Have fun and please share your results!
Choose the main focal point

One of 24 frames taken for final image. Main focal point showing detail.
My final saguaro image is a 24 frame Brenizer Method Panorama. I used a Canon R5, 70-200mm lens @ 200mm, 1/800 @ f/2.8, ISO 400. This was at shot at 200mm but a 70mm, 85mm, or even a 50mm lens will work.
Choose a subject, dial in the correct exposure, ISO, and a wide aperture. My f-stop was f/2.8. Use Kelvin not auto white balance since you’ll need to have all images match for processing.
It’s important to use manual or back button focus. Choose the focal point of your subject. Once you get the focus locked in, don’t change anything – especially the focus! For this image I focused on the main stem of the saguaro. I’m guessing I was about 30-40 feet away giving me a depth of field of 1-2 feet which results in sharp details of the stem and arms.
Be careful to pivot the camera on the nodal point; the correct pivot point in the lens for panoramic photography to avoid parallax error. For quick handheld panoramas I assume the point is just in front of where the lens attaches to the body. When doing more precise panoramas, a tripod, leveling head, and a nodal slide are recommended. It can get complicated but for quick handheld panos, don’t worry about perfection.
Panoramic shooting and processing basics


I wanted the final image to be a portrait/vertical orientation so I shot the panoramic strips the same way. It doesn’t really matter; you can merge a stack of landscape/horizontal oriented images and accomplish the same thing.
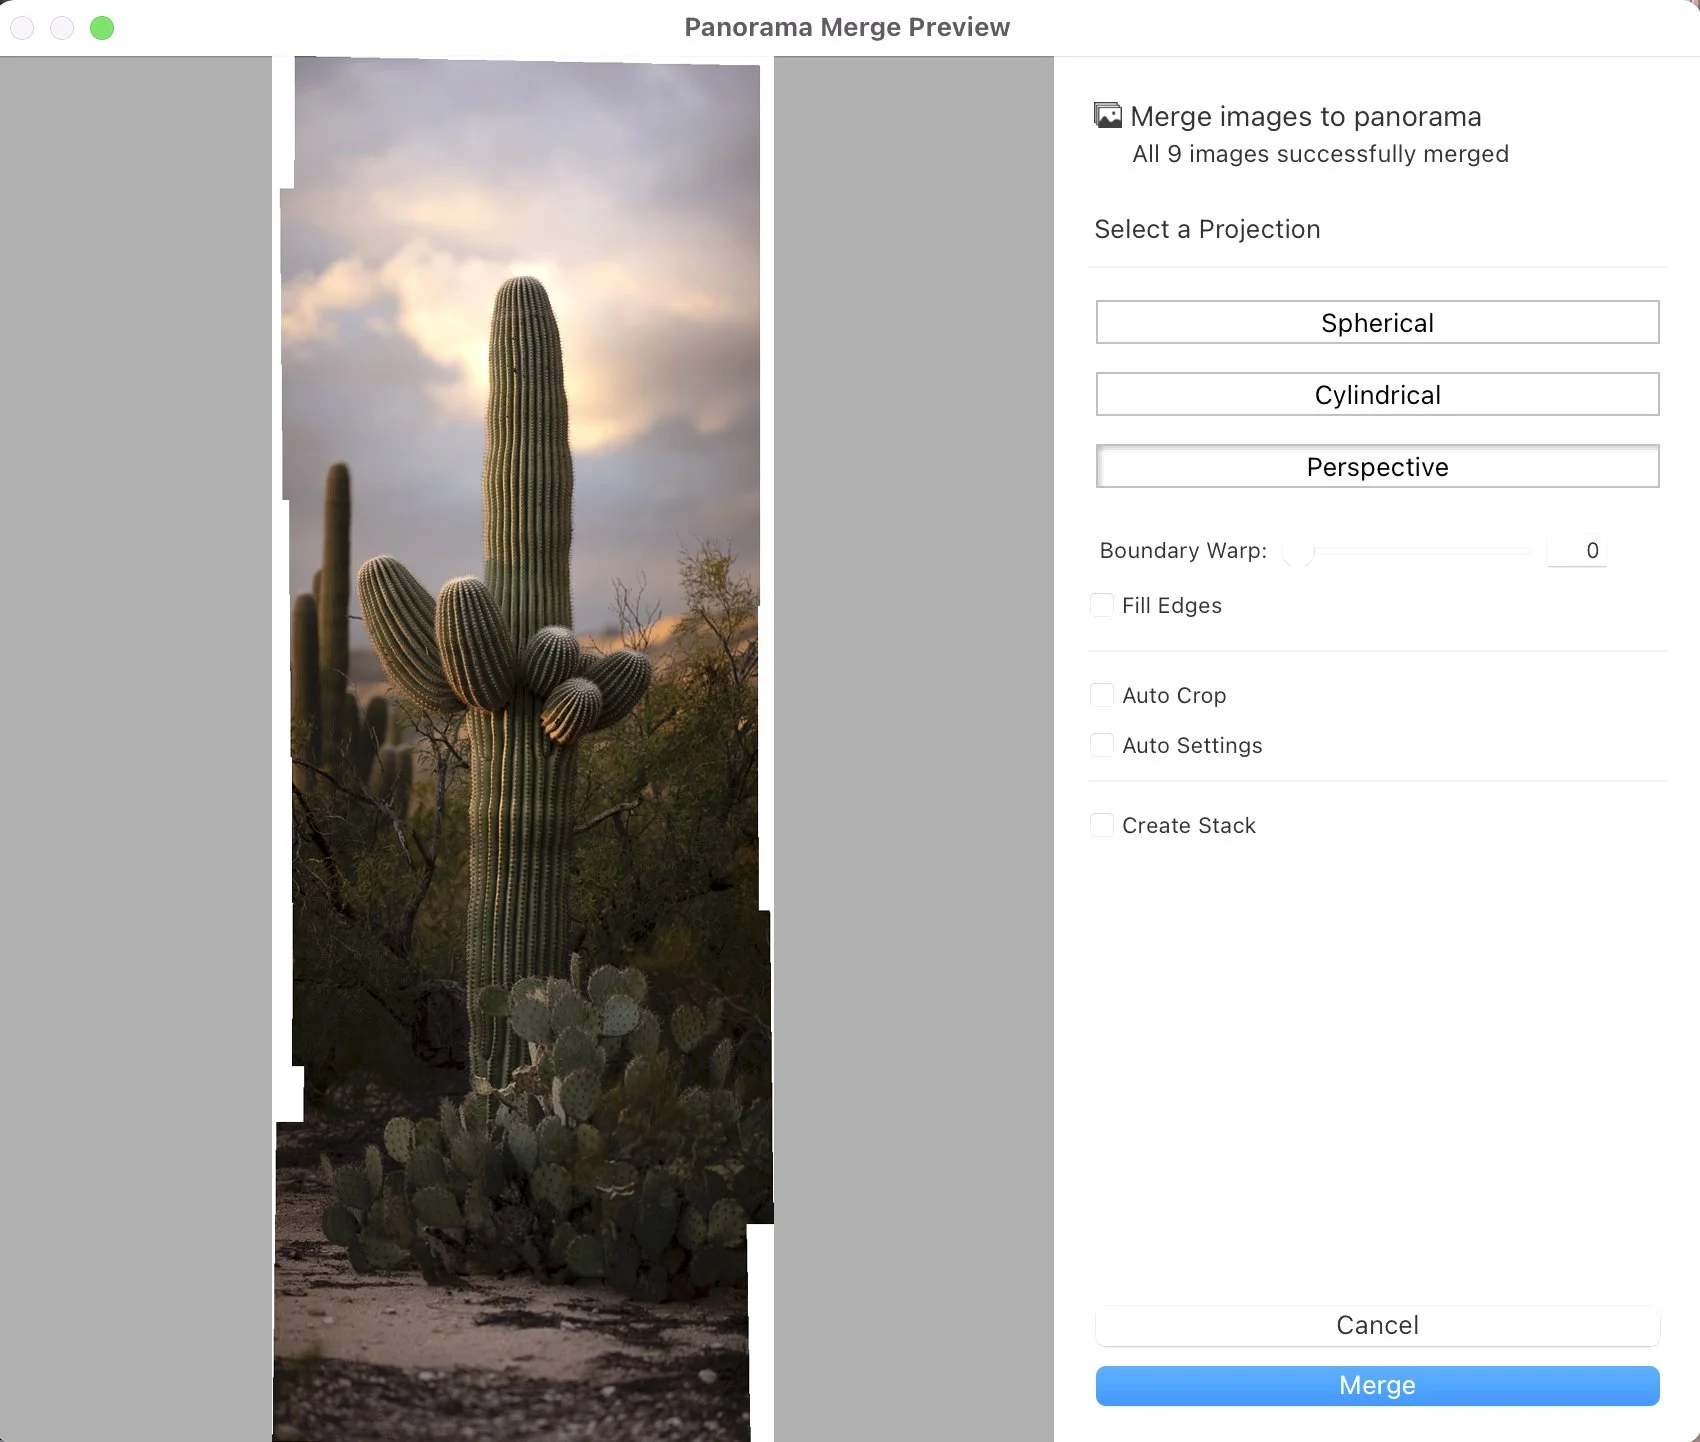
The top two rows above show the frames I took for the central strip of the final image. Beginning at ground level I shot nine frames, trying to overlap each by 30%. Overlapping is important for merging images in Lightroom or Photoshop. Include plenty of ground and sky to give the subject compositional space. The last image in row two is the un-cropped merged file in Lightroom.
Next, I repeated the process. I took a set of images to the left of the saguaro and another set to the right. Again, allow some overlap with the main subject.
The bottom row in the example above shows the individual merged sets; left, center and right frames. I didn’t do a great job on the right side but luckily it worked.
Next I merged these three strips into a final panoramic image. It’s essentially making a large mosaic of photos.
Last I did basic editing on the image in Lightroom, then opened it in Photoshop for final touches and cropping.
To start out, try 6 images, 3 rows of 2 and see how it looks. You don’t need to begin with a 24-frame panorama. Check out in-depth tutorials, practice, and have fun filling up those hard drives!
Large format prints

One of the benefits of the Brenizer Method and panoramic photography is its physical size and resolution. The sunset saguaro image is (24) 45-megapixel frames which ended up being a 3GB image. It can be printed up to 5 x 8 feet at 300dpi. That takes up a lot of space on the hard drive but looks amazing on a big wall! It’s excellent for very large format prints that are viewed closely. Hallways, offices and homes with large wall space are ideal places for these images.
Contact me with any custom large format photography requests.